The email solicitation feature allows you to send personalized invitations to respond to a survey from a database of contacts imported into Survey Manager.
1- Correspondent database: #
The contact database is a csv file, which allows us to list the people who will be contacted by email.
1.1- CSV file design #
In most cases, we recommend starting your CSV file with:
- An «Identifier» column, each identifier is unique, it allows to distinguish the entries from one another.
- An "email" column to target email addresses to solicit
Attention : Double-check that your email addresses are valid. Too many incorrect email addresses can lead to emails being blacklisted from the sender address you provided. Therefore, for an indefinite period, you will no longer be able to send emails.
1.1.1- Column heading #
We we recommend Also, pay attention to the following point regarding column headings:
- Avoid accents
- Prefer using capital letters.
- Avoid spaces; to replace them you can use "_".«
- Do not use special characters such as: ";", "!"...
1.1.2- Registration #
You will need to properly register your contact database in CSV with the following separator:
- «; »"If your Survey Manager interface is in French"
- «, »"If your Survey Manager interface is in English.".
The fields in the correspondent database can then automatically pre-fill Net Survey questions. For more information, see the "Identifying a questionnaire with a database" guide.«
1.2- Add a base correspondent from Survey Manager : #
- Log in to your Survey Manager account
- Click on the name of your study. If you haven't added the study yet, add it now.
- Then click on "Collect responses":

- From the next page, click on "Select a CSV file"«
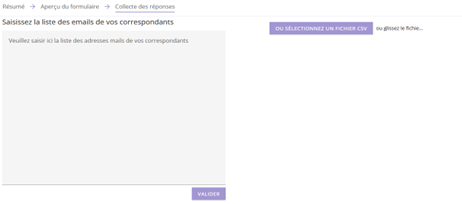
- Select the previously created CSV file
- The page will refresh automatically and a table will appear with the different pieces of information you had in your CSV file.
For example :

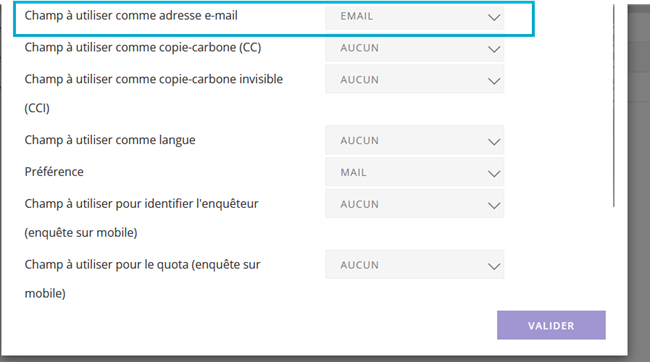
- Select the reference field for the email address and confirm.

- Click again on "collecting responses".
The page will refresh and add a checkmark in front of each box allowing you to select one or more participants.

- You can show or hide certain fields in your CSV file by clicking on:

- You can also verify that the email address matches the correct field in your contact database by clicking on "Settings".«
2- Make a request: #
- From the "Collecting Responses" tab you can select 1 or more people
- Then click on "Actions on participants"«
![]()
- Then "Apply"«
![]()
Attention By clicking on "Request all" you will send to all individuals in your database, regardless of what you have selected.
You will arrive at a page like this:
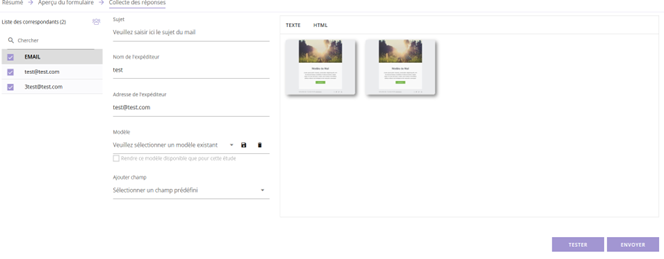
- You will then be able to:
- Fill in the "Subject" field of your email,
- Change the sender's name if necessary.,
- By default, the sender's email address is the one entered in "Sending Address" in the "Configuration" menu (see: address 1 (photo on the next page)
If no address is entered in this field, then the default email address is the one associated with your account. (CF: address 2 (photo on the next page)
To access the configuration menu: click on the arrow next to your initials, then "Configuration".

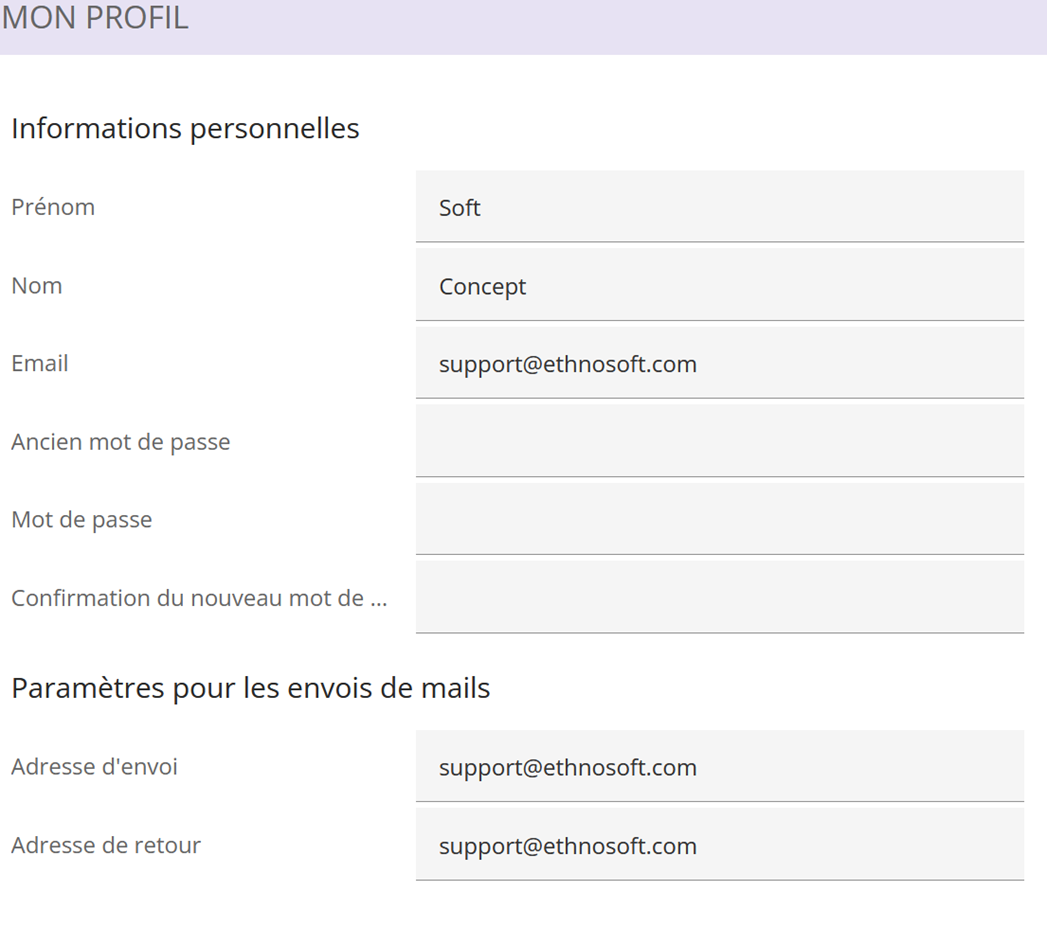
2.1- Configuring the sender address #
If you wish to change the sender address on the solicitation page, it is important to follow certain rules.
The sender address must belong to the same domain name as the one used by your Survey Manager.
For example, if the Survey Manager domain name is @test_Survey.com, You will not be able to use an email address ending in . as the sender address. @gmail.com
In most cases, the Survey Manager's domain name corresponds to its URL.
2.2- Why this constraint? #
This rule is linked to email security and authentication mechanisms, put in place to combat identity theft and improve message deliverability.
These mechanisms are based primarily on three protocols:
- SPF (Sender Policy Framework) : allows you to verify that the server sending the email is authorized to do so for the domain used.
- DKIM (DomainKeys Identified Mail) : adds a cryptographic signature to the email, guaranteeing the integrity of the message and the authenticity of the sending domain.
- DMARC (Domain-based Message Authentication, Reporting and Conformance): relies on SPF and DKIM to define a validation policy and tell recipient servers how to handle non-compliant emails (rejection, quarantine, etc.).
2.3- Consequences of non-compliance #
If the sender address does not match the configured domain (or if the DNS records are not correctly configured), sent emails may:
- To be rejected by email servers,
- To be classified as unwanted (spam),
- Not to be delivered to the recipients.
2.4 - Good practices #
- Use a sender address belonging to the same domain as your Survey Manager.
- Verify that SPF, DKIM and DMARC records are correctly configured on your domain.
- If using a specific domain, ensure that it is authorized to send emails via the platform.
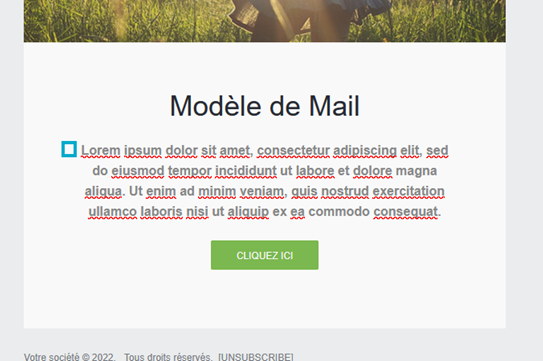
- In the left-hand section, you can choose a default email template and then adapt it to your needs (change the text, titles, image).
- By positioning yourself within the email template, you can add elements from the correspondent database.
For example, if you wish to begin your email with the first and last name of the person contacted:
-
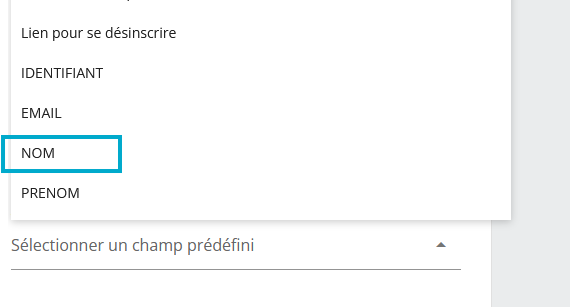
- Position yourself at the beginning of the email
-
- Then in the right-hand section, in the "Select a predefined field" section, click on "Name".
-
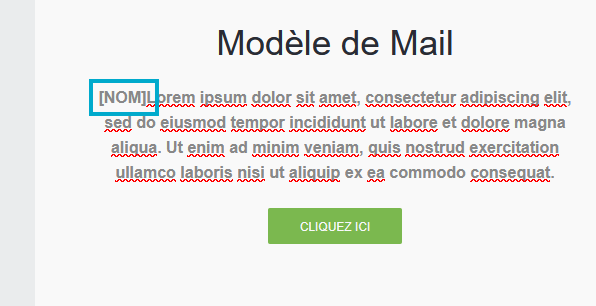
- You will see the name appear in the email.
-
- Repeat the operation by positioning yourself after the name and then selecting the variable "FIRST NAME" in "Select a predefined field".
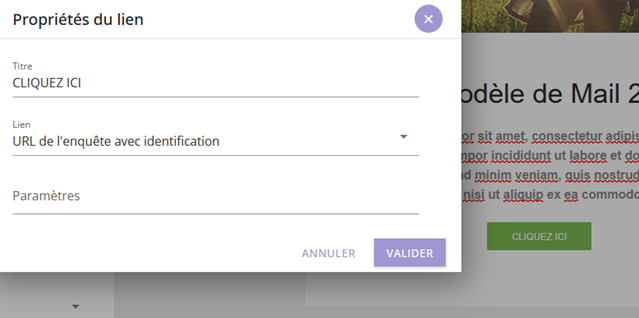
- Then click on the button to access the survey, for example "click here"«
Here, the link selection process differs depending on the type of questionnaire:
-
- Identified questionnaire: Survey URL with identification
- Unidentified questionnaire: Survey URL